HTML Language
HTML (HyperText Markup Language) is used to define the structure of a webpage. Think of it like the frame of a house. When you visit a website, an HTML page is what the browser parses to display all of the content on the page!
We use HTML in the following courses at CWHQ:
| Elementary | Middle School | High School |
|---|---|---|
| Fundamental Programming Concepts | Webpages with HTML & CSS | Fundamentals of Web Development |
| Web Development For Kids - 1 | Capstone 1 | User Interface Development |
| Web Development For Kids - 2 | User Interface Development | Capstone 1 |
| Creating Websites with HTML/CSS | Responsive Web Development | APIs and Databases |
| Responsive Websites with HTML/CSS | Interactive JavaScript | Professional Web App Development |
| Interactive Websites with JavaScript | Web Interfaces | Modern CSS Frameworks |
| Capstone 3 | Capstone 2 | Capstone 2 |
| Mastering APIs | Mastering MVC Framework | |
| Capstone 3 | Object Relational Mapping | |
| DevOps and Software Engineering | ||
| Capstone 3 |
In this section of our documentation, you'll find references to most of the core HTML language features that we use in our CodeWizardsHQ courses.
You'll also find many Further reading sections, which pull from this excellent HTML resource:
Basic HTML Structure
HTML documents have a standard basic form which looks like this:
<!DOCTYPE html>

<html>
    <head>
        <title>[INSERT TILE HERE]</title>
    </head>

    <body>
        <!-- INSERT HTML CONTENT TAGS HERE -->
    </body>
</html>
The DOCTYPE tag
The DOCTYPE is the first tag in an HTML document, and it's required to ensure the browser parses an HTML document correctly. If you leave it out, strange things can happen depending on the user's browser settings:
<!DOCTYPE html>
The <html> tag
The <html> tag is used to hold the contents of an HTML document, which will consist of a <head> and a <body>. The HTML document ends at the </html> tag.
<!DOCTYPE html>

<html>
    <!-- Everything in here is part of the HTML document -->
</html>
The <head> tag
The <head> tag is used to hold information about the HTML document that shouldn't appear on the page (like the title, character encoding, etc.) and is also used to pull in external resources (like CSS or JavaScript).
<!DOCTYPE html>

<html>
    <head>
        <!-- This is for information about the document or linking external resources -->
    </head>
</html>
The <title> tag
The <title> tag appears in the browser tab and should be included in all HTML documents.
<!DOCTYPE html>

<html>
    <head>
        <title>This appears in the browser tab</title>
    </head>
</html>
The <body> tag
The <body> tag holds all of the HTML content that will appear on the page. This is the content you want the user to see.
<!DOCTYPE html>

<html>
    <head>
        <title>This appears in the browser tab</title>
    </head>

    <body>
        <h1>This appears on the page</h1>
        <p>So does this</p>
    </body>
</html>
Further Reading
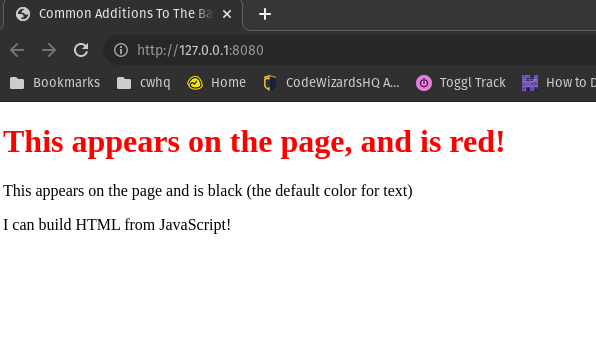
Common Additions To The Basic HTML Structure
If you explore HTML documents on your favorite websites, you'll see that there are many variations on the basic HTML structure shown above. We'll discuss a few common additional tags that you'll see at CWHQ in this section, such as the <style>, <link>, <script>, and <meta> tags.
<!DOCTYPE html>

<html>
    <head>
        <title>Common Additions To The Basic HTML Structure</title>
        <meta name="viewport" content="width=device-width, initial-scale=1.0" />
        <link rel="stylesheet" href="style.css" />
        <script src="game-logic.js"></script>
        <style>
            h1 {
                color: red;
            }
        </style>
    </head>

    <body>
        <h1>This appears on the page, and is red!</h1>
        <p>
            This appears on the page and is black (the default color for text)
        </p>

        <script>
            var paragraphElement = document.createElement("p");
            paragraphElement.textContent = "I can build HTML from JavaScript!";

            document.body.append(paragraphElement);
        </script>
    </body>
</html>
The <meta> tag
The <meta> tag can be used to add different information about the document, such as the author, character encoding, whether it should be responsive to different screen sizes, etc. In the example below, we tell the browser that it should be responsive to different screen sizes using the <meta> tag:
<!DOCTYPE html>

<html>
    <head>
        <title>Common Additions To The Basic HTML Structure</title>
        <!-- Please take into consideration the device I'm being viewed on
        for sizing things! -->
        <meta name="viewport" content="width=device-width, initial-scale=1.0" />
    </head>

    <body></body>
</html>
The <link> tag
The <link> tag is commonly used to include an external CSS stylesheet, either from your own filesystem or externally from somewhere like Google Fonts. In the example below, we include a stylesheet from our filesystem called style.css:
<!DOCTYPE html>

<html>
    <head>
        <title>Common Additions To The Basic HTML Structure</title>
        <!-- Include all the CSS style rules from `style.css` in this
        HTML document -->
        <link rel="stylesheet" href="style.css" />
    </head>

    <body></body>
</html>
The <script> tag
You can include a <script> tag in the <head> or at the end of the <body> in an HTML document. If you use the src attribute, the <script> tag pulls JavaScript data from an external file. If you don't use the src attribute, you write the JavaScript directly in the HTML document.
<!DOCTYPE html>

<html>
    <head>
        <title>Common Additions To The Basic HTML Structure</title>
        <!-- Please add the JavaScript code from `game-logic.js` into
        this file -->
        <script src="game-logic.js"></script>
    </head>

    <body>
        <!-- Add all HTML content here -->

        <script>
            // This JavaScript logic can be written directly in the HTML file
            var paragraphElement = document.createElement("p");
            paragraphElement.textContent = "I can build HTML from JavaScript!";

            document.body.append(paragraphElement);
        </script>
    </body>
</html>
The <style> tag
The <style> tag can be used to add CSS directly in an HTML document instead of pulling it from an external file.
<!DOCTYPE html>

<html>
    <head>
        <title>Common Additions To The Basic HTML Structure</title>
        <!-- Please add these CSS styles to anything in the `<body>` that
        I target with a CSS selector -->
        <style>
            h1 {
                color: red;
            }
        </style>
    </head>

    <body>
        <h1>This appears on the page, and is red!</h1>
        <p>
            This appears on the page and is black (the default color for text)
        </p>
    </body>
</html>
Further Reading
Elements Give Text Meaning
HTML elements (or tags) that you use in the <body> of an HTML document should be used to give text structure and meaning. Use the right tag for the right job!
For example, the <p> tag is used to display generic text while the <h1> tag is used to display the top-level title or headline of your page. You use the <img> tag to display images.
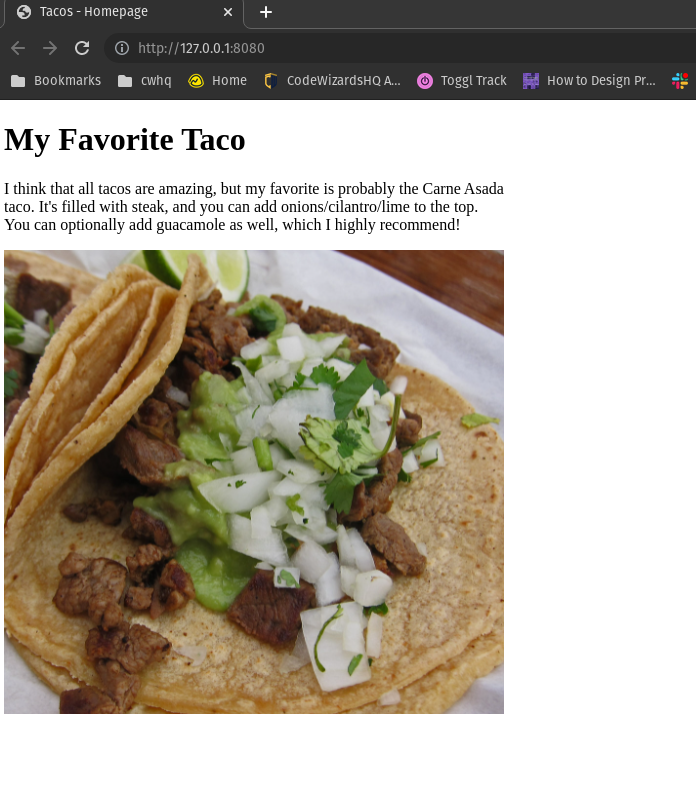
Well-Structured HTML
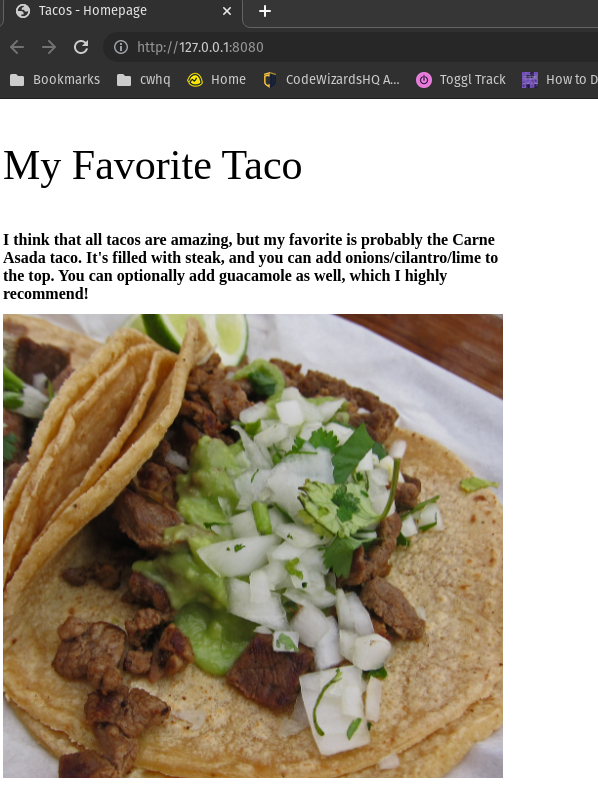
If we were making a page about tacos and wanted to have a title, some text, and an image, this would be a good structure:
<!DOCTYPE html>

<html>
    <head>
        <title>Tacos - Homepage</title>
    </head>

    <body>
        <h1>My Favorite Taco</h1>
        <p>
            I think that all tacos are amazing, but my favorite is probably the
            Carne Asada taco. It's filled with steak, and you can add
            onions/cilantro/lime to the top. You can optionally add guacamole as
            well, which I highly recommend!
        </p>
        <img src="taco.jpg" />
    </body>
</html>
Poorly-Structured HTML
In contrast, we could make the same page like this:
<!DOCTYPE html>

<html>
    <head>
        <title>Tacos - Homepage</title>
        <style>
            p {
                font-size: 42px;
            }
            h1 {
                font-size: 16px;
            }
            #taco-image {
                background-image: url(taco.jpg);
                background-size: contain;
                background-repeat: no-repeat;
                width: 500px;
                height: 500px;
                display: block;
            }
        </style>
    </head>

    <body>
        <p>My Favorite Taco</p>
        <h1>
            I think that all tacos are amazing, but my favorite is probably the
            Carne Asada taco. It's filled with steak, and you can add
            onions/cilantro/lime to the top. You can optionally add guacamole as
            well, which I highly recommend!
        </h1>
        <span id="taco-image"></span>
    </body>
</html>
This is not well-structured HTML because we're not using the right element for the right job anywhere! Instead, we're trying to use CSS to make the <p> tag big and the <h1> tag small, and the <span> is holding an image instead of an <img> tag. Why use all of that CSS when you could use the natural element for the job? As a rule, always structure your page with the correct tags first, and then you can add CSS to style them later.
Two Broad Categories Of Elements
HTML elements fall into two broad categories, block-level and inline-level. Block-level elements appear on their own lines, and inline-level elements do not.
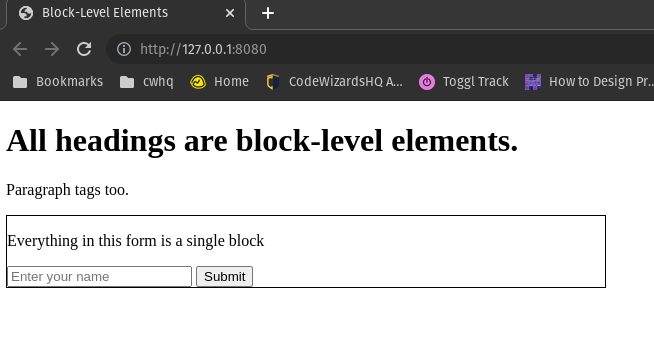
Block-Level Elements
Some standard block elements are <p>, all of the heading tags (<h1> through <h6>), the <div>, <form> elements, and many more:
<!DOCTYPE html>

<html>
    <head>
        <title>Block-Level Elements</title>
    </head>

    <body>
        <h1>All headings are block-level elements.</h1>
        <p>Paragraph tags too.</p>
        <form>
            <p>Everything in this form is a single block</p>
            <input placeholder="Enter your name" />
            <button>Submit</button>
        </form>
    </body>
</html>
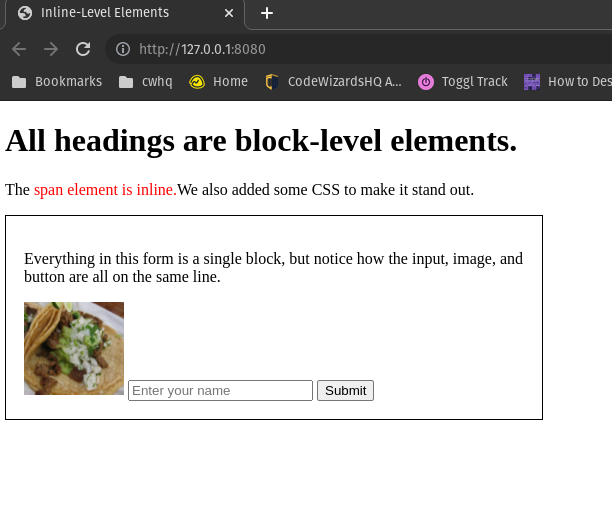
Inline-Level Elements
Some standard inline elements are <span>, <img>, <button>, and <input> elements, along with many others:
<!DOCTYPE html>

<html>
    <head>
        <title>Inline-Level Elements</title>
        <style>
            span {
                color: red;
            }
        </style>
    </head>

    <body>
        <h1>All headings are block-level elements.</h1>

        <p>
            The <span>span element is inline.</span>We also added some CSS to
            make it stand out.
        </p>

        <form>
            <p>
                Everything in this form is a single block, but notice how the
                input, image, and button are all on the same line.
            </p>
            <img src="taco.jpg" />
            <input placeholder="Enter your name" />
            <button>Submit</button>
        </form>
    </body>
</html>
Directory Navigation
When linking external files like images, audio, video, or JavaScript/CSS, you need to understand where the asset is located in your project folder. Programmers generally call folders directories, and we'll use that term throughout this section.
Example Directory Structure
Consider the following directory structure:
my-website
├── home
│   ├── home.html
│   ├── never-gonna-give-you-up.mp3
│   └── scripts
│       └── loader.js
├── images
│   └── profile-pic.jpg
└── style.css
my-website is what's known as the root of this directory tree. To navigate to directories or files in this directory tree, you use a path, which is a series of directories/files separated by / characters.
Examples Of Different Directory Paths
There are a four common ways to navigate between directories:
- Downwards
- Upwards
- Upwards and Downwards
- Same Directory
If we're thinking from index.html for all of these examples, then loader.js is downwards from that file.
So, the path to loader.js from index.html is:
scripts/loader.js
You can also navigate upward using ../.
So, the path from index.html to style.css is:
../style.css
Navigating upwards and downwards combines the two techniques shown above.
So, the path from index.html to profile-pic.jpg is:
../images/profile-pic.jpg
Finally, if the asset you want to include is in the same project folder, you don't need any / or ../, you just reference the name of the asset.
So, the path from index.html to never-gonna-give-you-up.mp3 is:
never-gonna-give-you-up.mp3
Putting this all together, here's how we could include loader.js, style.css, profile-pic.jpg, and never-gonna-give-you-up.mp3 in our index.html file:
<!DOCTYPE html>

<html>
    <head>
        <title>Home</title>
        <link href="../style.css" rel="stylesheet" />
    </head>

    <body>
        <div>
            <h1>Directory Navigation Example</h1>
            <img src="../images/profile-pic.jpg" />
            <audio src="never-gonna-give-you-up.mp3" controls></audio>
        </div>
        <script src="scripts/loader.js"></script>
    </body>
</html>
HTML Element References
Below are some of the common HTML Elements you may use:
| Element | Description |
|---|---|
<html> |
Holds content of HTML Document |
<head> |
Holds information about the HTML Document |
<title> |
Title appears on browser tab |
<body> |
Holds all HTML Content |
<link> |
Link external resource like CSS stylesheet |
<meta> |
Holds metadata about document |
<style> |
Apply CSS styling to elements |
<h1> - <h6> |
6 levels of section headings |
<div> |
Creates a division within the HTML Document |
<br> |
Line Break |
<ol> |
Defines an Ordered List |
<ul> |
Defines an Unordered List |
<li> |
Defines list items |
<p> |
Defines paragraphs in the document |
<a> |
Creates hyperlink to other webpages |
<audio> |
Add audio |
<img> |
Add images |
<video> |
Add video |
<iframe> |
Embeds other HTML pages in the current webpage |
<script> |
Embeds or refers to Javascript in the document |
<table> |
Create tables |
<form> |
Create a section for submitting a form |
<button> |
Adds a button used for interactivity |
<input> |
Creates an input field |
<select> |
Creates drop down menu |
<option> |
Defines an item within the select element |
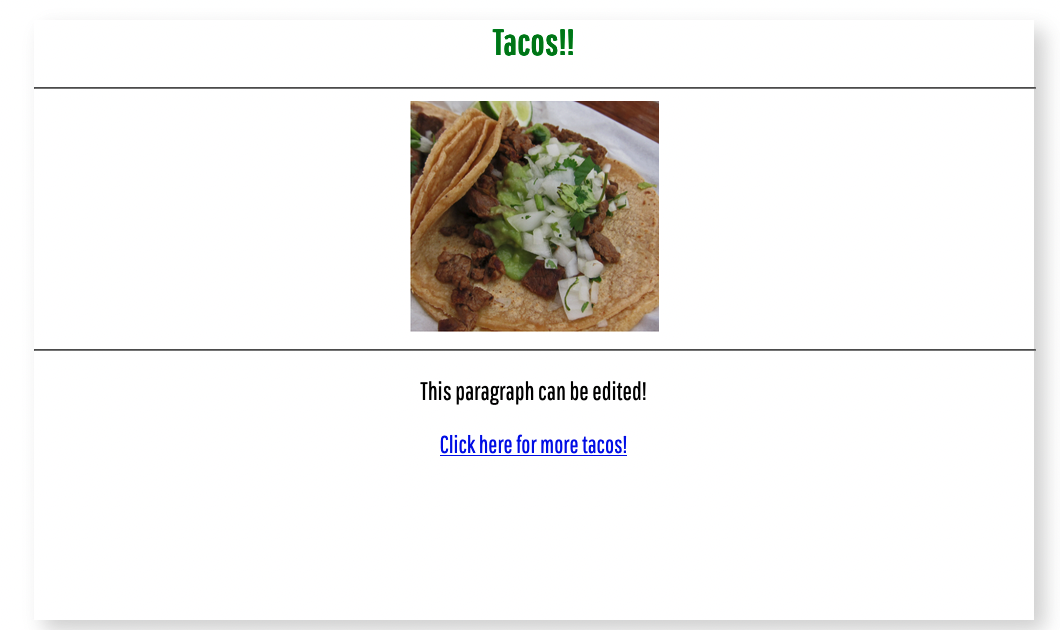
Attributes
HTML attributes allow you to provide additional information about each element. Here are a few examples of common attributes:
<!DOCTYPE html>

<html>
    <head>
        <title>Attributes</title>
        <link href="style.css" rel="stylesheet" />
    </head>

    <body>
        <div>
            <h1 style="color: green;">Tacos!!</h1>

            <hr />
            <img src="tacos.png" id="taco" />
            <hr />

            <p contenteditable="true">This paragraph can be edited!</p>

            <a href="tacos.html"> Click here for more tacos! </a>
        </div>
    </body>
</html>
Further Reading
Body Text
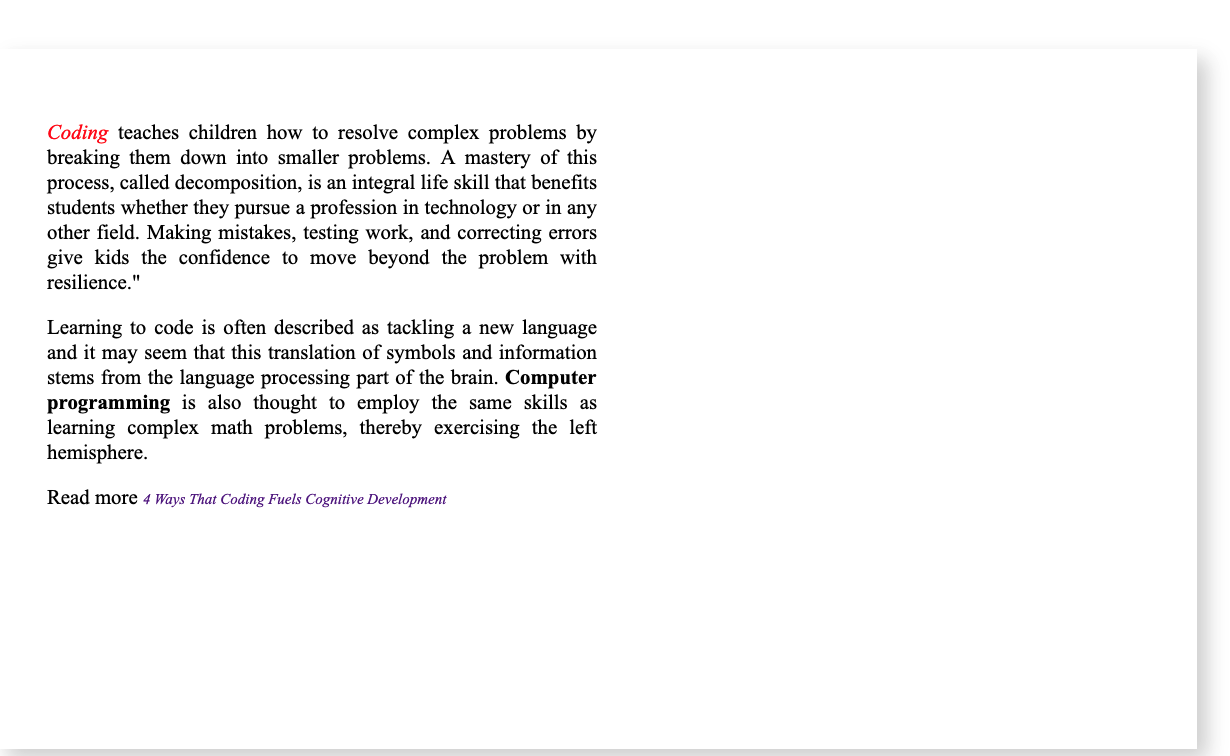
In the <body> of an HTML document, you can add elements that contain text which the user sees on the page. The <p> tag is a generic text element, but you can also use elements like <em>, <strong> and <cite> to give your body text meaning.
<!DOCTYPE html>

<html>
    <head>
        <title>Body Text</title>
        <link href="style.css" rel="stylesheet" />
        <style>
            em {
                color: red;
            }
        </style>
    </head>

    <body>
        <div class="container">
            <p>
               <em>Coding</em> teaches children how to resolve complex problems by breaking them down into smaller problems. A mastery of this process, called decomposition, is an integral life skill that benefits students whether they pursue a profession in technology or in any other field. Making mistakes, testing work, and correcting errors give kids the confidence to move beyond the problem with resilience."
            </p>
            <p>
                 Learning to code is often described as tackling a new language and it may seem that this translation of symbols and information stems from the language processing part of the brain. <strong> Computer programming </strong>is also thought to employ the same skills as learning complex math problems, thereby exercising the left hemisphere.
             </p>
             <p>
                 Read more
                 <cite><a href="https://www.codewizardshq.com/coding-cognitive-development/">4 Ways That Coding Fuels Cognitive Development</a><cite>
             </p>
        </div>
    </body>
</html>
Further Reading
Comments
HTML comments allow us to write notes, hide content, and disable code in the event of a bug. They are not visible to viewers of your HTML page unless they view the page's source code.
<!DOCTYPE html>

<html>
    <head>
        <title>Comments</title>
        <link href="style.css" rel="stylesheet" />
    </head>

    <body>
        <div>
            <!-- This is an important note! -->

            <h1>HTML Comments</h1>

            <!-- <p> This tag is now "turned off" </p> -->

            <!-- You can also make
            multi-line comments as well!
            -->
        </div>
    </body>
</html>
Further Reading
Containers
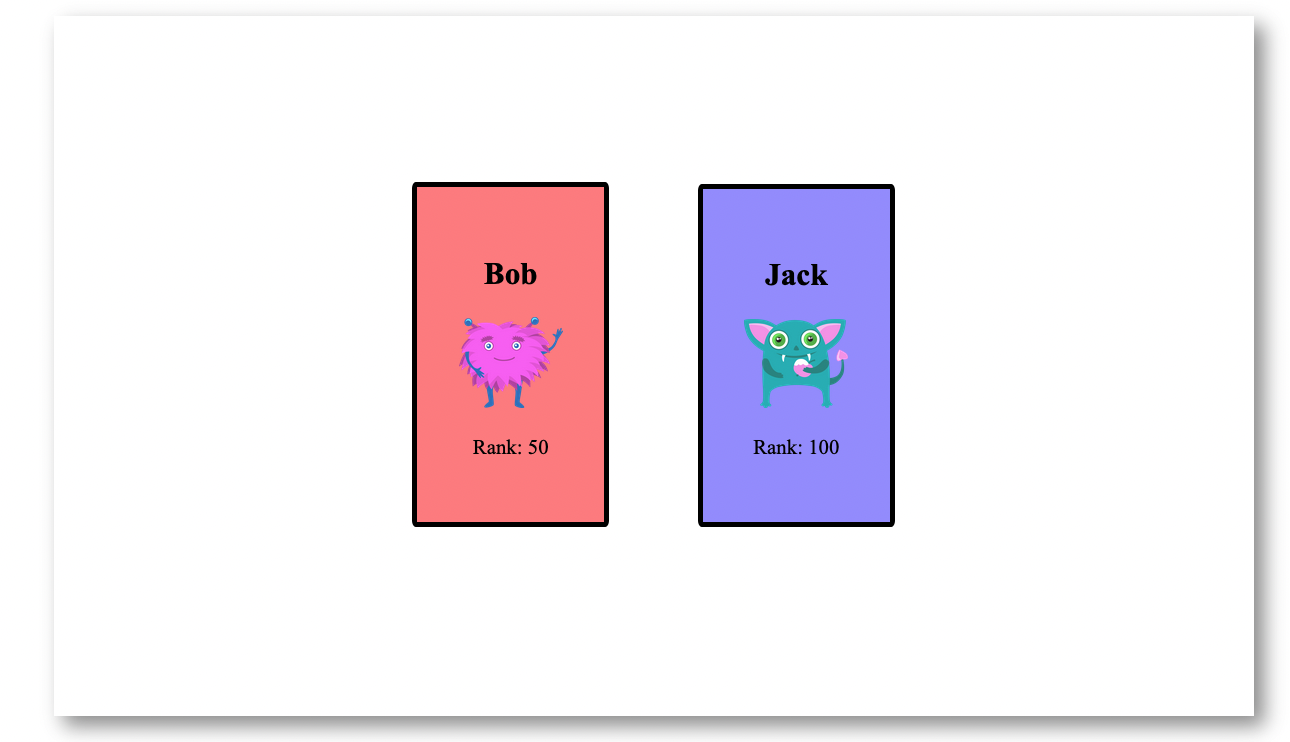
HTML containers allow you to divide your content into sections. The <div> element is a good illustration of how to divide two containers. They can use the class property to share styling, but they can also have their own styling and content.
<!DOCTYPE html>

<html>
    <head>
        <title>Containers</title>
        <link href="style.css" rel="stylesheet" />
        <style>
            .division {
                display: inline-block;
                text-align: center;
            }
            #team1 {
                background-color: rgba(255, 0, 0, 0.466);
            }
            #team2 {
                background-color: rgba(30, 0, 255, 0.425);
            }
        </style>
    </head>

    <body>
        <div class="container">
            <div class="division" id="team1">
                <h2>Bob</h2>
                <img src="monster1.png" />
                <p>Rank: 50</p>
            </div>

            <div class="division" id="team2">
                <h2>Jack</h2>
                <img src="monster2.png" />
                <p>Rank: 100</p>
            </div>
        </div>
    </body>
</html>
Further Reading
Forms and Buttons
You can create a form section to submit information using the HTML <form> element.
The <input> element is used within the form element, and the type attribute can be used to display different types of inputs. We are also using the <button> tag to submit the form.
<!DOCTYPE html>

<html>
    <head>
        <title>Forms and Buttons</title>
        <link href="style.css" rel="stylesheet" />
    </head>

    <body>
        <div class="container">
            <h2>Contact</h2>
            <form>
                <input
                    type="text"
                    placeholder="Enter Name"
                    id="name"
                    required
                />
                <input
                    type="email"
                    id="senderEmail"
                    placeholder="Enter Email"
                    required
                />
                <input
                    type="number"
                    id="senderNumber"
                    placeholder="Enter Number"
                    required
                />
                <label>Choose Programming Language</label>
                <select>
                    <option>Javascript</option>
                    <option>Python</option>
                    <option>Java</option>
                </select>
                <button>Submit</button>
            </form>
        </div>
    </body>
</html>
Further Reading
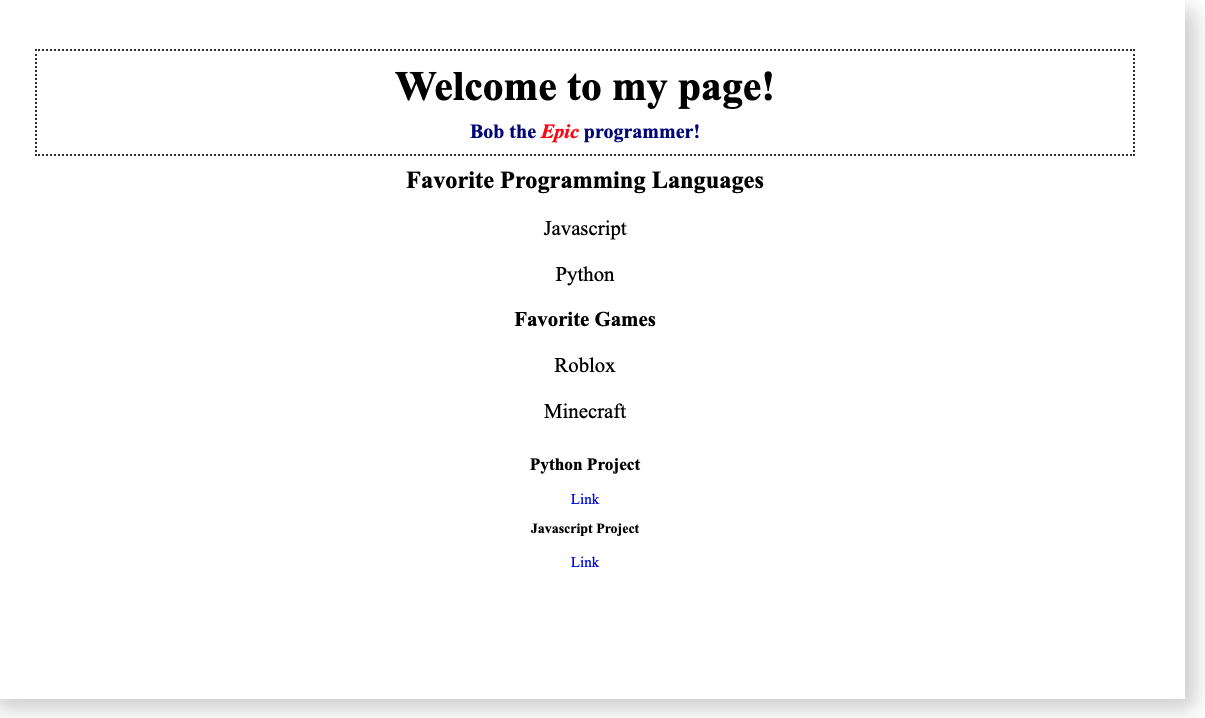
Heading Elements
HTML headings allow you to define headings using section levels. <h1> Represents the highest level <h6> represents the lowest level.
<!DOCTYPE html>

<html>
    <head>
        <title>Headings</title>
        <link href="style.css" rel="stylesheet" />
    </head>

    <body>
        <div class="container">
            <div class="info">
                <!-- Note: Using only one h1 is recommended -->
                <h1>Welcome to my page!</h1>
                <h2>Bob the <em>Epic</em> programmer!</h2>
            </div>

            <div class="section2">
                <h3>Favorite Programming Languages</h3>
                <p>Javascript</p>
                <p>Python</p>

                <h4>Favorite Games</h4>
                <p>Roblox</p>
                <p>Minecraft</p>
            </div>

            <div class="projects">
                <h5>Python Project</h5>
                <a href="pythonproject.html">Link</a>
                <h6>Javascript Project</h6>
                <a href="javascriptproject.html">Link</a>
            </div>
        </div>
    </body>
</html>
Further Reading
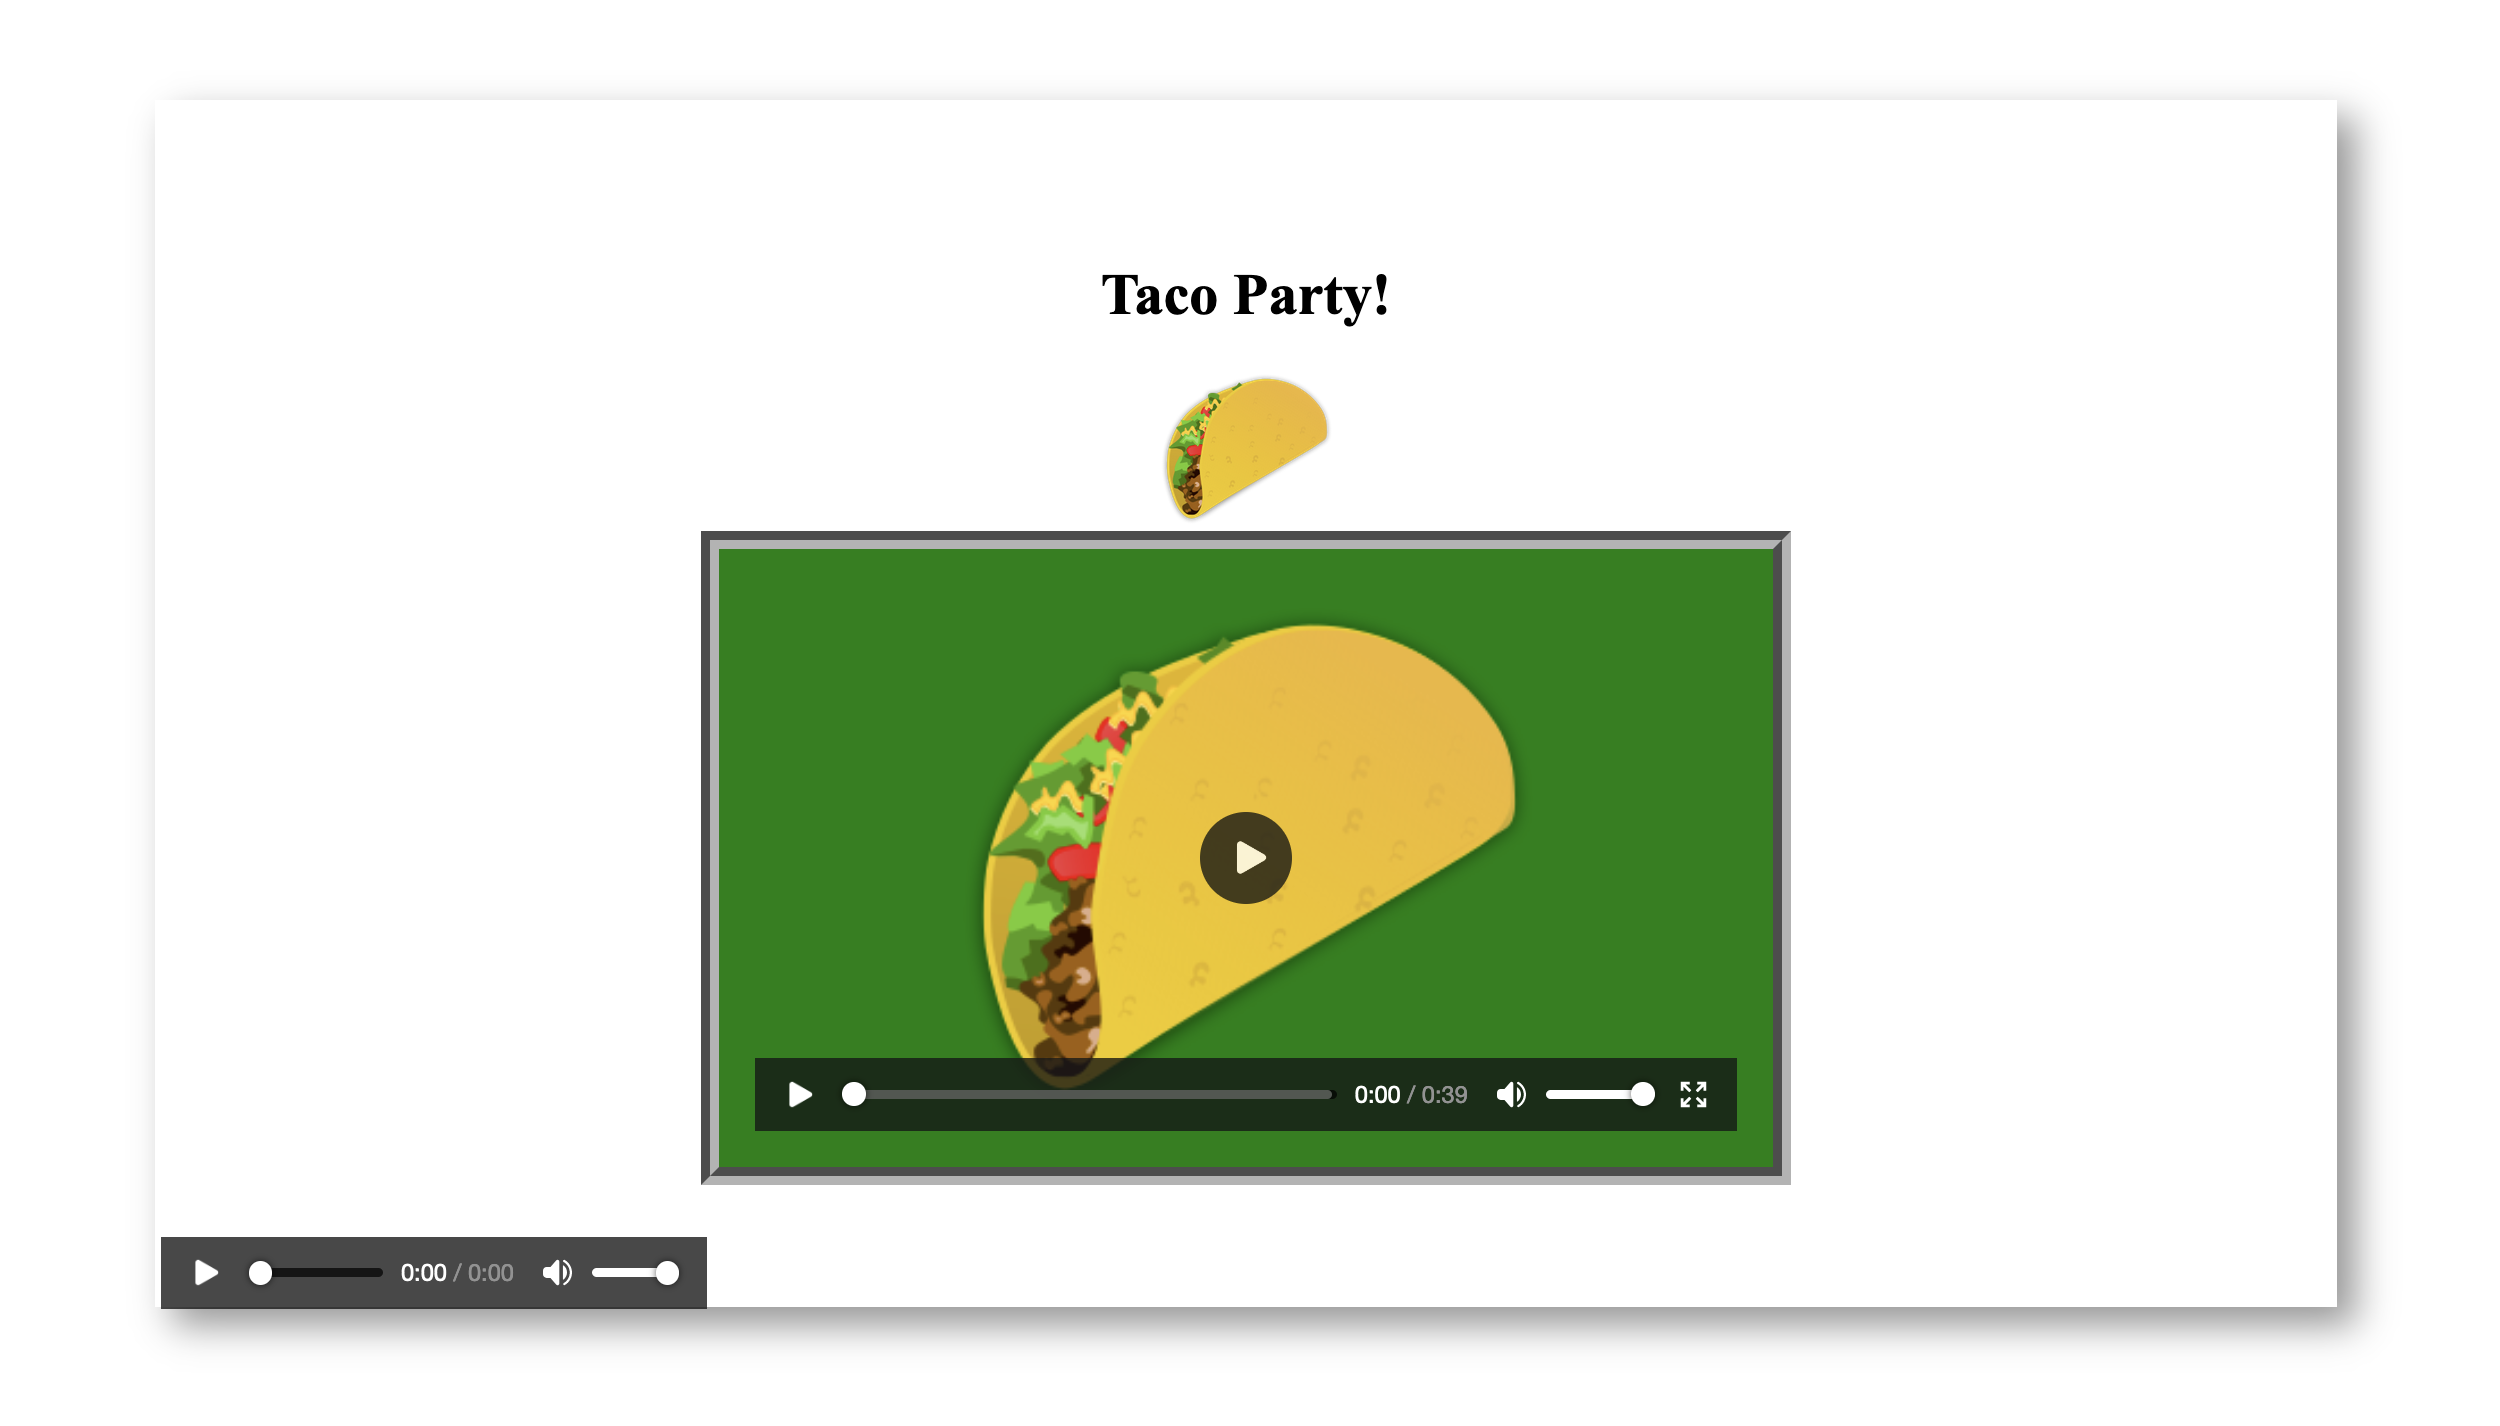
Image, Video and Audio
The <img>, <video>, <audio> elements can be used to embed specific media. The src attribute is used by all elements.
<!DOCTYPE html>

<html>
    <head>
        <title>Image, Video and Audio</title>
        <link href="style.css" rel="stylesheet" />
    </head>

    <body>
        <div class="container">
            <h1>Taco Party!</h1>

            <!-- This image is located in the child folder images -->
            <img src="images/tacos.png" />

            <!-- The Video Element uses additional attributes controls and poster -->
            <video
                src="videos/tacos.mp4"
                controls
                poster="images/tacos.png"
            ></video>

            <!-- The Audio Element uses additional attributes controls, loop, autoplay -->
            <audio
                src="audio/never-gonna-give-you-up.mp3"
                controls
                loop
                autoplay
            ></audio>
        </div>
    </body>
</html>
Further Reading
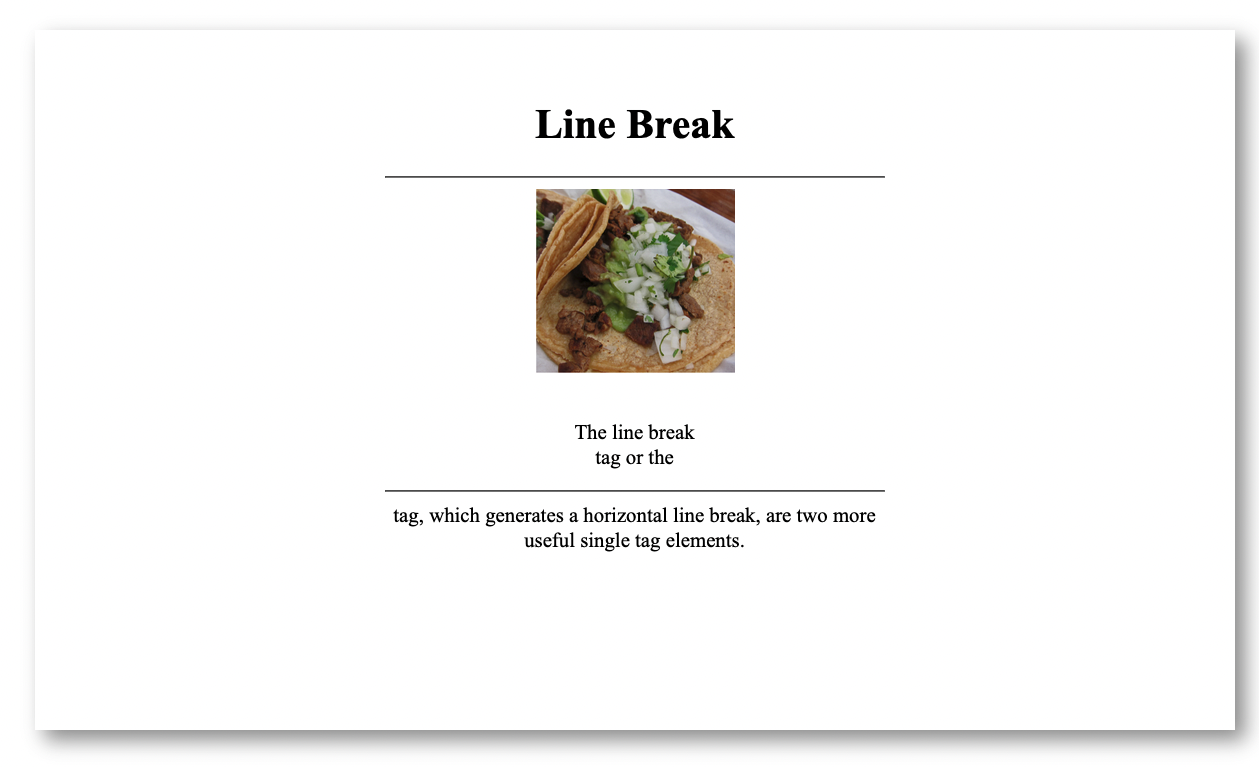
Line Break Elements
For creating breaks in the content, use the line break <br> tag or the <hr> tag, which makes a horizontal line break.
<!DOCTYPE html>

<html>
    <head>
        <title>Line Break</title>
        <link href="style.css" rel="stylesheet" />
    </head>

    <body>
        <div class="container">
            <h1> Line Break </h1>

            <hr>

            <img src="taco.jpg" />

            <p>  The line break <br> tag or the <hr> tag, which generates a horizontal line break, are two more useful single tag elements. </p>
        </div>
    </body>
</html>
Further Reading
Links
HTML Links allow you to link to other webpages using <a> tag with the href attribute.
<!DOCTYPE html>

<html>
    <head>
        <title>Links</title>
        <link href="style.css" rel="stylesheet" />
    </head>

    <body>
        <div class="container">
            <!-- Inline vs Block Links -->

            <!-- Inline -->
            <a href="https://www.codewizardshq.com"> CodeWizardsHQ </a>

            <!-- Block, makes the <img> tag clickable -->
            <a href="https://www.codewizardshq.com">
                <img src="cwhq.png" id="cwhq" />
            </a>

            <!--
                Document fragment by id, will jump to the section
                of the document with the `summer` id
            -->
            <a href="#summer">Check out our Program Section!</a>
            <p id="summer">Elementary, Middle School, High School</p>

            <hr />
            <!-- Relative vs Absolute URLs -->

            <!-- Relative URL -->
            <a href="index/index.html"
                >This will link us to a file within the same directory.</a
            >

            <!-- Absolute URL  -->
            <a href="https://www.codewizardshq.com"
                >This will link us to any web page using the absolute url.</a
            >
        </div>
    </body>
</html>
Further Reading
List Elements
HTML lists allow you to make a structured list. Both list elements use the <li> tag to define each item.
<!DOCTYPE html>

<html>
    <head>
        <title>Lists</title>
        <link href="style.css" rel="stylesheet" />
    </head>

    <body>
        <div class="container">
            <!--
                This is an unordered list element. The items on this list
                will be bulleted.
            -->
            <div class="list1">
                <h1>Favorite Foods</h1>
                <ul>
                    <li>Tacos</li>
                    <li>Pasta</li>
                    <li>Pizza</li>
                </ul>
            </div>

            <!--
                This is an ordered list element. The 'type' attribute can
                be used to adjust the order of this list, which can be
                either alphabetical or numerical.
            -->
            <div class="list2">
                <h1>Favorite Snacks</h1>
                <ol>
                    <li>Dark Chocolate</li>
                    <li>Sugar Cookies</li>
                    <li>BBQ Chips</li>
                </ol>
            </div>
        </div>
    </body>
</html>

Further Reading
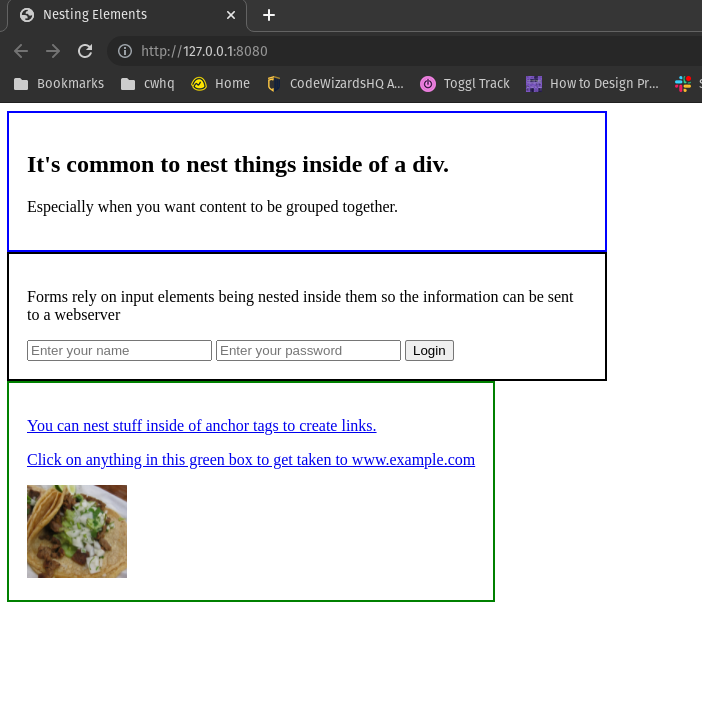
Nesting Elements
Elements can be nested inside each other. This is most common with elements like the <div> and <form>, but you can also nest other tags, like adding content inside the <a> tag to make elements into links:
<!DOCTYPE html>

<html>
    <head>
        <title>Nesting Elements</title>
    </head>

    <body>
        <div>
            <h2>It's common to nest things inside of a div.</h2>
            <p>Especially when you want content to be grouped together.</p>
        </div>

        <form>
            <p>
                Forms rely on input elements being nested inside them so the
                information can be sent to a webserver
            </p>
            <input placeholder="Enter your name" />
            <input placeholder="Enter your password" />
            <button>Login</button>
        </form>

        <a href="https://www.example.com">
            <p>You can nest stuff inside of anchor tags to create links.</p>
            <p>
                Click on anything in this green box to get taken to
                www.example.com
            </p>
            <img src="taco.jpg" />
        </a>
    </body>
</html>
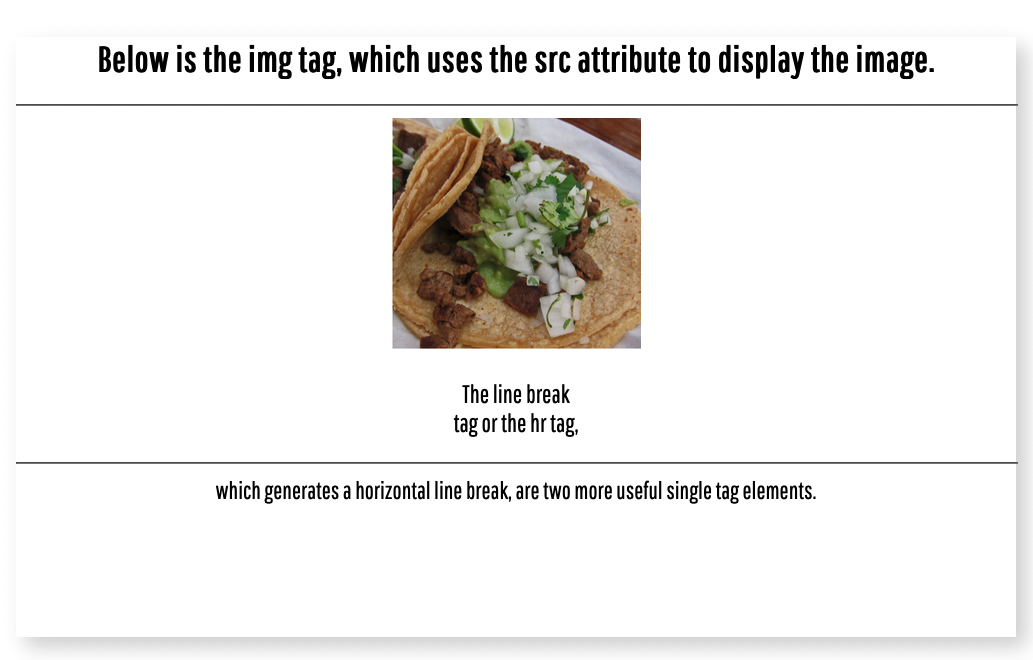
Single Tag Elements
Elements can also be single tag elements. There is no need for a closing tag for these tags because there is no content between them. The most common single tag elements are <img> and <link>:
<!DOCTYPE html>

<html>
    <head>
        <title>Single Tag Elements</title>
        <link href="style.css" rel="stylesheet" />
    </head>

    <body>
        <div>
            <h1> Below is the img tag, which uses the src attribute to display the image </h1>

            <hr>

            <img src="taco.jpg" />

            <p> The line break <br> tag or the <hr> tag, which generates a horizontal line break, are two more useful single tag elements. </p>
        </div>
    </body>
</html>
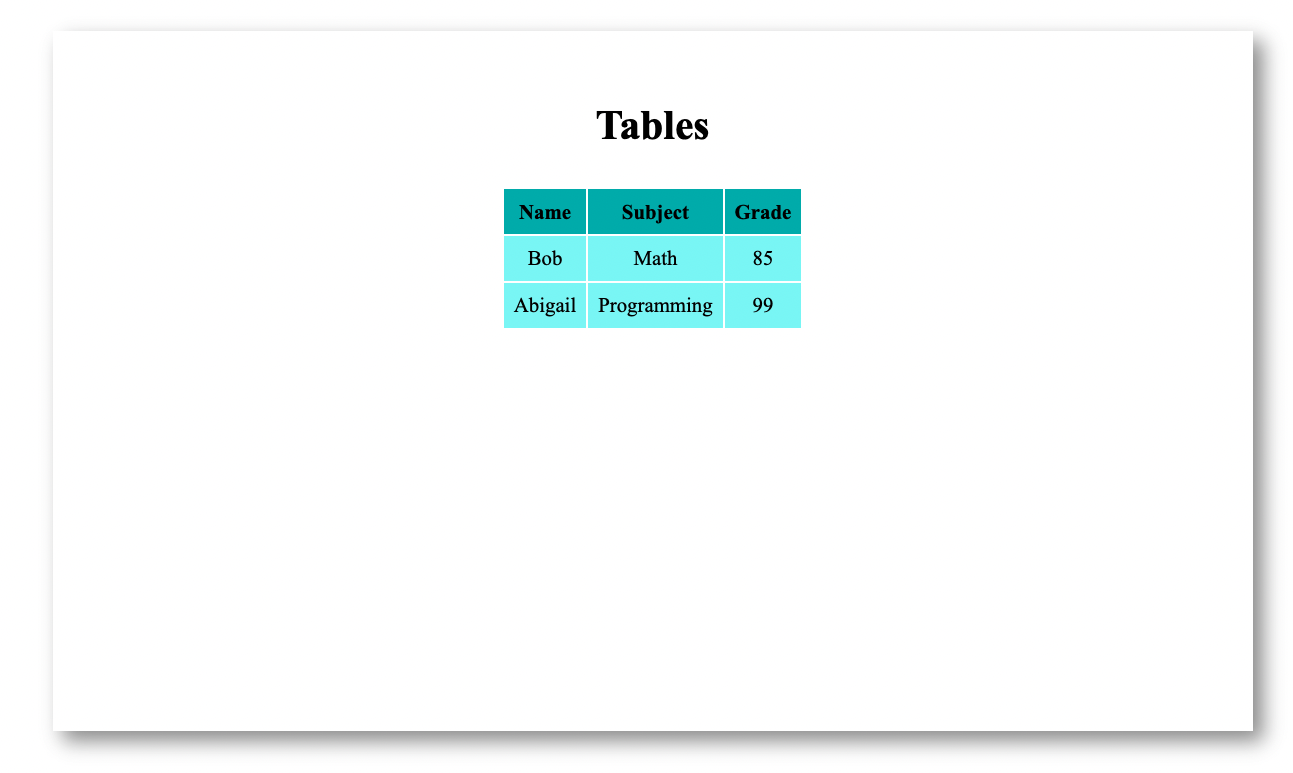
Table
You can use the following table elements to create a structured table.
<!DOCTYPE html>

<html>
    <head>
        <title>Tables</title>
        <link href="style.css" rel="stylesheet" />
    </head>

    <body>
        <div class="container">
            <h1>Tables</h1>
            <table>
                <!-- Table Row -->
                <tr>
                    <!-- Table Headers  -->
                    <th>Name</th>
                    <th>Subject</th>
                    <th>Grade</th>
                </tr>

                <tr>
                    <!-- Table Data -->
                    <td>Bob</td>
                    <td>Math</td>
                    <td>85</td>
                </tr>

                <tr>
                    <!-- Table Data -->
                    <td>Abigail</td>
                    <td>Programming</td>
                    <td>99</td>
                </tr>
            </table>
        </div>
    </body>
</html>
Further Reading